Creating a DIY catio for your indoor cat is easier than you think. Whether you want to give your feline a taste of the outdoors or provide a safe space for sunbathing, a catio combines functionality and fun while keeping your cat protected from potential risks like cars or predators.
Quick answer: To build a DIY catio, you'll need basic materials like wood, mesh wire, and screws, costing around $100-$250 depending on size. Start by measuring your outdoor area, assembling a wooden frame, and attaching mesh wire for safety. Most projects take 6-8 hours.
Why Build a Catio?
Cats naturally crave outdoor stimulation. However, for indoor cats, the outdoors can pose dangers like traffic, wildlife, and toxic plants. A catio balances safety with enrichment. Studies show that 80% of cat owners notice reduced stress and increased activity when their pets have access to secure outdoor spaces. Plus, they prevent escape attempts that could put your pet at risk.
Benefits:
- Safer playtime: Protects from predators and cars.
- Mental stimulation: Helps combat boredom and depression.
- Customizable sizes: Fits patios, balconies, or backyards.
- Find the best accessories for cat care here.
Materials and Costs
Here’s what you’ll need to get started. You can find these at local hardware stores or order online.
| Item | Price range | Purpose | |---------------|---------------|--------------------------------------| | Wood | $50-$150 | Frame construction | | Mesh wire | $30-$80 | Enclosure walls | | Screws | $10 | Securing structures | | Door hinges | $15-$40 | Entry points | | Weatherproof paint | $20-$50 | Protect wood from elements |
Optional additions include shelves ($20-$50), ramps ($15-$30), or shade cloth ($10-$25).
Step-by-Step Instructions
Here’s a detailed guide to building your catio. It’s a weekend project.
Step 1: Plan and Measure
Begin by deciding where you’ll place the catio. Popular spots include patios, balconies, and backyard corners. Measure the area and sketch out your design. A simple 5x5-foot catio accommodates up to two cats, while a larger 10x10-foot structure works for multiple cats.
Step 2: Build the Frame
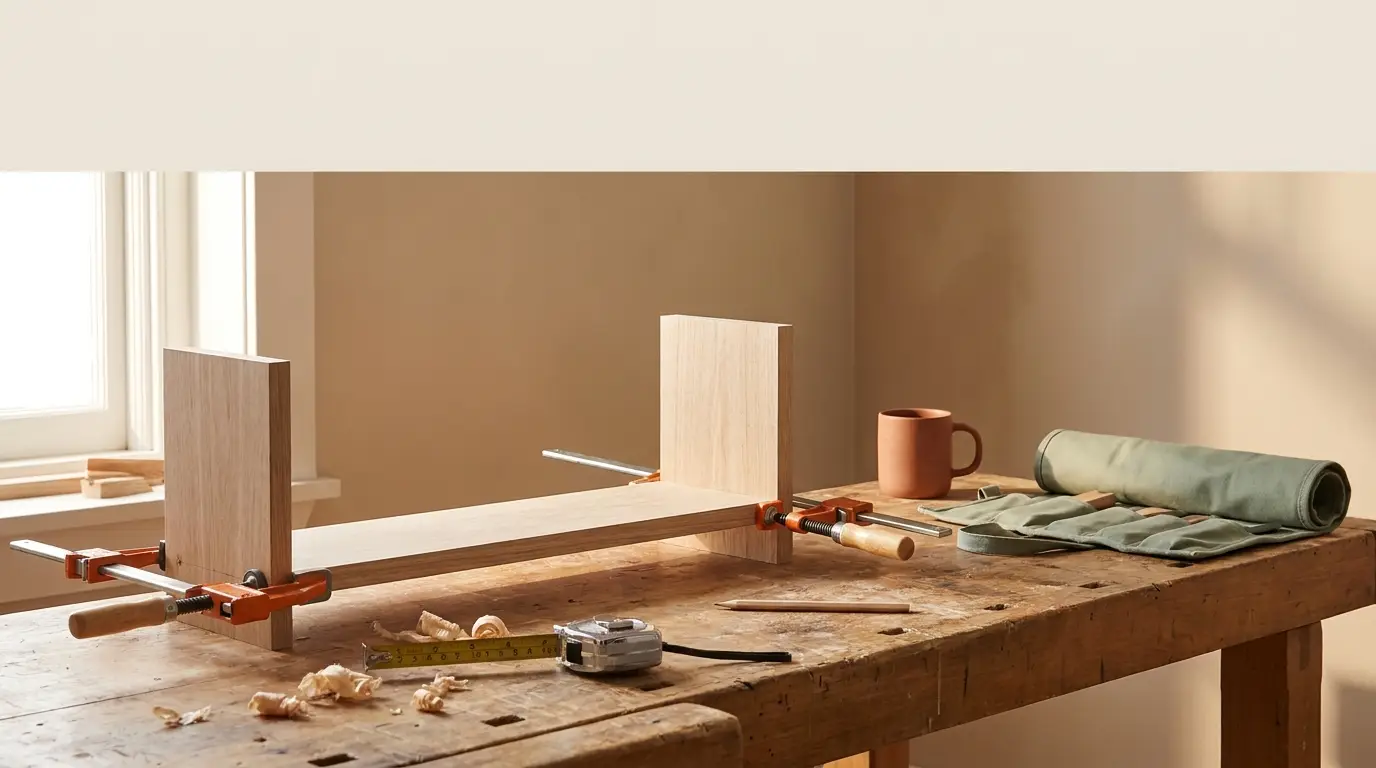
Cut and assemble wood planks according to your design. Use screws and brackets to secure the frame. For larger catios, reinforce the corners with additional supports to ensure stability.
Step 3: Add Mesh Walls
Wrap mesh wire around the frame. Secure it with screws or staple gun, making sure there are no sharp edges. Mesh with 1x1-inch spacing works best to prevent escapes while allowing airflow.
Step 4: Install the Door
Attach hinges to create an entry point. A latched door ensures only you can access the catio. Don’t forget to test the door to ensure smooth opening and closing.
Step 5: Final Touches
Paint the wood with weatherproof paint to protect against rain and sun. Add shelves or ramps inside for climbing and perching. Include toys, scratching posts, and a cozy sleeping area.
Maintenance Tips
A well-built catio will last for years, but it requires some upkeep. Check the mesh for tears every six months and replace worn-out parts as needed. Clean the space weekly to remove dirt and debris. If you’ve added plants, make sure they’re safe for cats. Avoid lilies, which are toxic.
Consider these grooming essentials to keep your cat clean.
FAQ
How long does it take to build a catio?
Most DIY catios can be built in 6-8 hours, depending on size and complexity. Larger designs with added features may take up to 12 hours.
Can I use recycled materials for my catio?
Yes, many builders use recycled wood or mesh to reduce costs. Just ensure the materials are safe and free from chemicals that could harm your cat.
Do I need a permit to build a catio?
In most cases, you won’t need a permit for small, temporary structures like catios. However, check local regulations, especially for larger or permanent installations.
How much does it cost to build a catio?
Costs range from $100-$250 for basic setups. Adding features like ramps or weatherproofing can increase the budget to $300 or more.
Can I build a catio on a balcony?
Absolutely. Balcony catios are popular for apartment dwellers. Use lightweight materials and secure them to railing posts for stability.
Sources
- “The Benefits of Outdoor Spaces for Cats,” ASPCA, 2025.
- “DIY Pet Projects: Cost Analysis,” Home Improvement Weekly, 2026.
- “Safe Plants for Cats,” Pet Poison Helpline, 2024.